This guide is intended as an introduction to cocoa roasting for the small scale and home chocolate maker. More detailed information on the scientific principles and approaches for large scale projects are available in the Further Reading section below.
Introduction
Roasting is one of the most important yet misunderstood aspects of chocolate making. Some makers go to extreme lengths to produce accurate-to-the-second roasting profiles, while others describe their unroasted products as ‘raw’ chocolate.
I believe that a better approach falls somewhere between these two extremes, but in order to find the best solution for you, it’s important to understand why we roast cocoa beans in the first place.
The techniques described below apply primarily to whole bean cocoa roasting. Larger scale producers may use break and winnow the beans prior to roasting the nibs, but most small scale and craft chocolate makers roast the whole bean, so that’s what I’m concentrating on here.
So what are the benefits of roasting?
Santisation
Ensuring the safety of your final product is by far the most important responsibility of any chocolate maker, whether you’re making a commercial product or just experimenting at home. It’s also something that can easily be overlooked when starting out.
For many makers, the sorting and roasting phases are the only points in the process where external contaminants can be removed. Sorting can remove physical hazards that are visible to the eye (sticks, stones, insects, sacking material, etc.) and roasting can minimise biological hazards such as salmonella and E. coli.
The high temperatures of roasting have been shown to significantly reduce the concentration of microbial colonies in cocoa beans. Measuring those temperatures and reductions however, is not a simple process. The temperature your roaster or oven shows may be very different from the temperature inside any given bean; an issue that is compounded by the fact that beans come in a wide variety of shapes and sizes.
To be sure that your own roast is safe, I recommend roasting at > 100℃ for at least 15 minutes, then having your beans analysed by a local laboratory before and after testing.
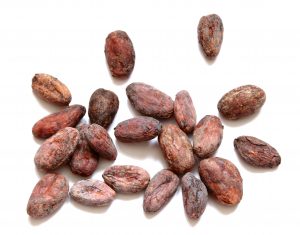
It’s important to understand that these hazards can and do occur in cocoa beans, even from the most trustworthy of sources. Cocoa is a fermented product that is often dried on the ground and around animals. Even in ideal conditions, there are multiple opportunities for biological hazards to contaminate dried beans.
As a maker, you have a legal obligation to minimise the risk of anyone consuming your product. If you are selling your chocolate, you may find that your local health inspector asks you to validate your roasting process to prove that you are doing this.
One final point to keep in mind is that roasting cannot remove chemical hazards such as heavy metals from cocoa beans. In this case, you may be able to ask your supplier for laboratory test results before purchasing beans, but you should also arrange your own testing. This is something that a local testing laboratory should also be able to help you with.
Flavour Development
For any creative chocolate maker, flavour development is an exciting part of the process. Roasting transforms the acidic, vinegary smell of fermented beans into delicious chocolate aromas as a number of chemical processes take place inside the bean. We’ll take a look at that in more detail below.
Other Benefits Of Roasting
There are a couple of other side benefits that roasting has for the chocolate maker too.
Firstly, it helps reduce the moisture content of the bean. According to the ICCO, dried cocoa beans have around 7.5% moisture content, which is a significant reduction from fermented beans, but is still high for chocolate making. As we know, water and chocolate don’t mix, so anything we do to reduce the moisture content is going to give us a much easier time when it comes to grinding the beans.
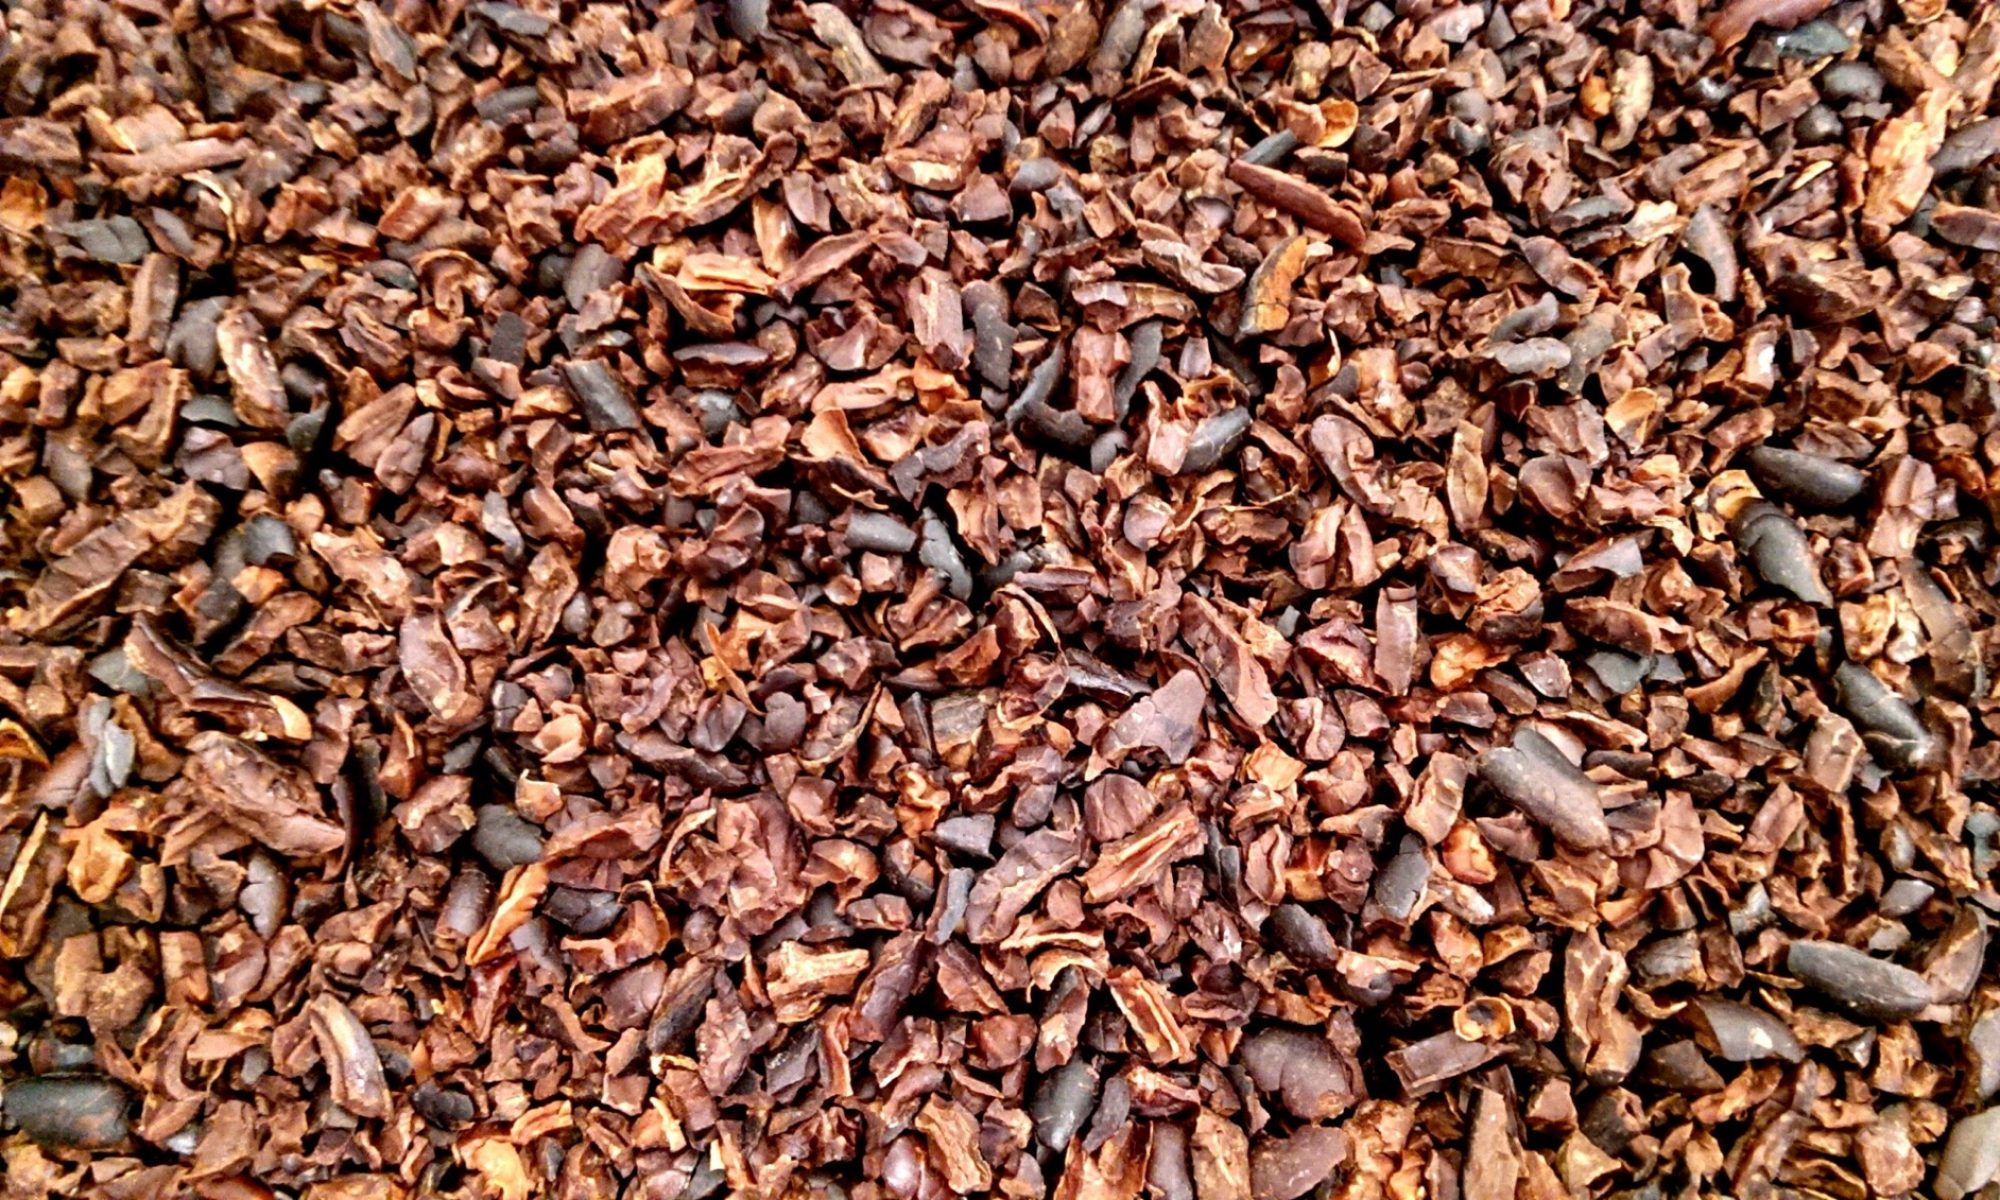
Secondly, the roasting process helps separate the husk of the bean from the nib. This makes the winnowing stage much easier and more effective. Well roasted beans can save time and reduce wastage in the winnowing stage.
The Right Equipment
Sometimes, the right tool for a job is the one that you already have. For small scale or home chocolate makers, that is generally an oven. It is perfectly possible to roast cocoa in a domestic oven, but there are a few limitations with this approach.
The biggest drawback is perhaps scale. In my oven at home, I was only able to roast around 500g of beans at a time. Domestic ovens tend to have hot spots and cool spots, so the most effective method of roasting is to lay out the beans in a tray, no more than one bean deep. A more even roast can be achieved by moving the beans around a few times during the process, but that will usually involve opening the oven door and losing heat.
In my experiments I found I was balancing a more even roast against the more accurate temperature control of simply leaving the beans alone for the roast. As is often the case in chocolate making, experimentation is key. Find what works for you and your equipment.
Commercial Oven
If you have the budget, a commercial oven is great for roasting cocoa. They tend to be larger than domestic ovens, but more importantly the temperature distribution is generally much more even. That means that not only can you get a better, more even roast, but you can also fill your oven with trays and significantly increase capacity.
A good sized commercial oven should be able to roast up to 10kg of beans at a time. While the roast may not be perfectly even, a high quality oven can produce great results in the hands of a skilled chocolate maker.
Drum Roaster
The rotating drum roaster immediately solves the major problem of oven roasting, in that it is capable of achieving a much more even roast. Drum roasters come in all shapes and sizes, from tabletop units with a capacity of a few hundred grams, right up to large industrial machines capable of roasting hundreds of kilograms a day.
Some chocolate makers use converted or modified coffee roasters to roast cocoa, which can achiever great results. If you go down this route though, it’s important to remember that coffee and cocoa require very different roasting profiles, so modifying your equipment to produce temperatures more suitable for cocoa is extremely important.
For home makers, coffee roasters like the Behmor 1600 may be a good option, and Chocolate Alchemist John Nanci has some great information on using this.
If you’re technically inclined, you may choose to build your own roaster. For my own chocolate making, I use a converted countertop oven that has a motor fitted inside that powers a handmade steel mesh drum. In many respects, this is a great little roaster, but it does have drawbacks. The biggest issue I have found is that the dust generated from roasting cocoa tends to build up in the motor and gearbox causing significant wear over time. These parts end up needing to be repaired or replaced regularly.

If you go down the route of building or modifying your own roaster, I highly recommend adding an inspection hatch to the drum. That’s one thing that my roaster lacks and I wish it had. Being able to quickly take a sample of beans mid-roast is incredibly useful, particularly when working with new beans and developing roasting profiles.
Roasting Profiles
Put simply, a roasting profile is a graph of temperature over time for the centre of a cocoa bean during the roasting process. Of course, it’s not technically feasible to measure the internal temperature of a cocoa bean as it roasts, but we can extrapolate it by looking at the temperature of the roaster itself.
A good roasting profile should:
- Sanitise the chocolate, eliminating biological hazards
- Develop the full flavour of the cocoa bean
- Stop before reaching a point where the heat destroys those flavours
With those things in mind, the specifics of how to get the best roast are very much open to the personal preferences and tastes of the chocolate maker. There are no right or wrong answers when it comes to developing a roasting profile, but a little knowledge of what you’re trying to achieve goes a long way.
It’s important to note that the specifics of the flavour profiles you develop will be closely linked to both the beans you’re roasting and the equipment you use. If you roast the same beans using different methods, you’ll likely get very different results, but you can also expect to see differences even using the same model of roaster or oven.
The best way to develop a roasting profile for a new bean (or roaster) is by trial and error; do a series of roasts at different temperatures, removing and tasting beans at fixed intervals.
Maillard Reaction
During the roasting process, a number of key reactions are taking place inside the bean. These reactions occur at different temperatures and convert chemical groups such as amino acids and natural sugars into flavour compounds. The specific flavours you get from your roast depend on both the chemical makeup of the bean and how you roast them.
The most well known reaction that takes place is the Maillard Reaction which was first described by Louis Camille Mailard in 1912. This is the same reaction that is responsible for much of the browning of food we see in baking and roasting.
Additionally, roasting helps drive off some of the more volatile, acidic flavour notes found in unroasted cocoa. Acidity generated during fermentation is reduced and start to be replaced by the characteristic chocolatey aroma and flavour that we associate with good chocolate.
Developing A Profile
Before going into too much detail on the process, I want to say that using my own equipment I have had great results using only very minor variations in roasting temperature and time. In fact, for commercial products I don’t vary the temperature at all and only rarely adjust the roast time. For the majority of my chocolate, I have a single profile that works well for me. That’s not to say that my chocolate is perfect or there isn’t a better way of doing it, simply that I’m happy with the results.
While it’s possible to delve deeply into temperature curves, comparing them to the average size, weight and flavour profiles of a particular bean and develop highly specific roasts, I’ve found that the day-to-day variances in ambient temperatures and the nuances of my roaster often override any attempts at making minute adjustments. There is a balance to be had in taking the time to thoroughly analyse each and every roast in the pursuit of perfection, and finding something quickly that is consistently good.
I have found that having a ‘starting point’ of a default roast is a good place to start. Using my own countertop drum roaster, that’s 20 minutes at 140℃. When I get some new beans, I’ll do a small test roast, let the beans cool and taste a few. With practice, you can tell if a bean is under-roasted (often exhibiting grassy or earthy flavour notes) or over-roasted (smoky or burnt notes) without having to make a batch of chocolate. You’ll find it easier to compare roasts if you can remove a beans from the roaster (for example) every two minutes from 14 to 30 minutes.
Unfortunately, my roaster does not easily allow for beans to be removed during a roast, so I tend to do an initial estimate based on the size of the bean and the stated flavour profile.
Those natural flavour notes are an important consideration in themselves. Personally, I prefer a higher roast on beans that have high acidity and naturally punchy flavours, but lower roasts with more delicately flavoured beans.
The most important thing to remember when developing roasts is to document your results. Create a simple spreadsheet and log the date, bean variety, roast details and your own thoughts on the results. Keeping good notes from the very beginning will make it much easier to make changes in six months time.
Cooling
Building a precise roasting profile for a particular variety of cocoa beans is all well and good, but it quickly becomes meaningless if you don’t pay attention to cooling.
The chemical reactions associated with roasting will continue for as long as the beans are hot, so the rate of cooling is almost as important as the roast itself. If some of your roasts take an hour to cool and others ten minutes, you may end up with very different results.
The easiest way to deal with this is simply to cool your beans back to ambient temperature as quickly as possible. Commercial roasters often feature a cooling tray where hot beans are dumped out and kept moving over a wire mesh to allow for even cooling.
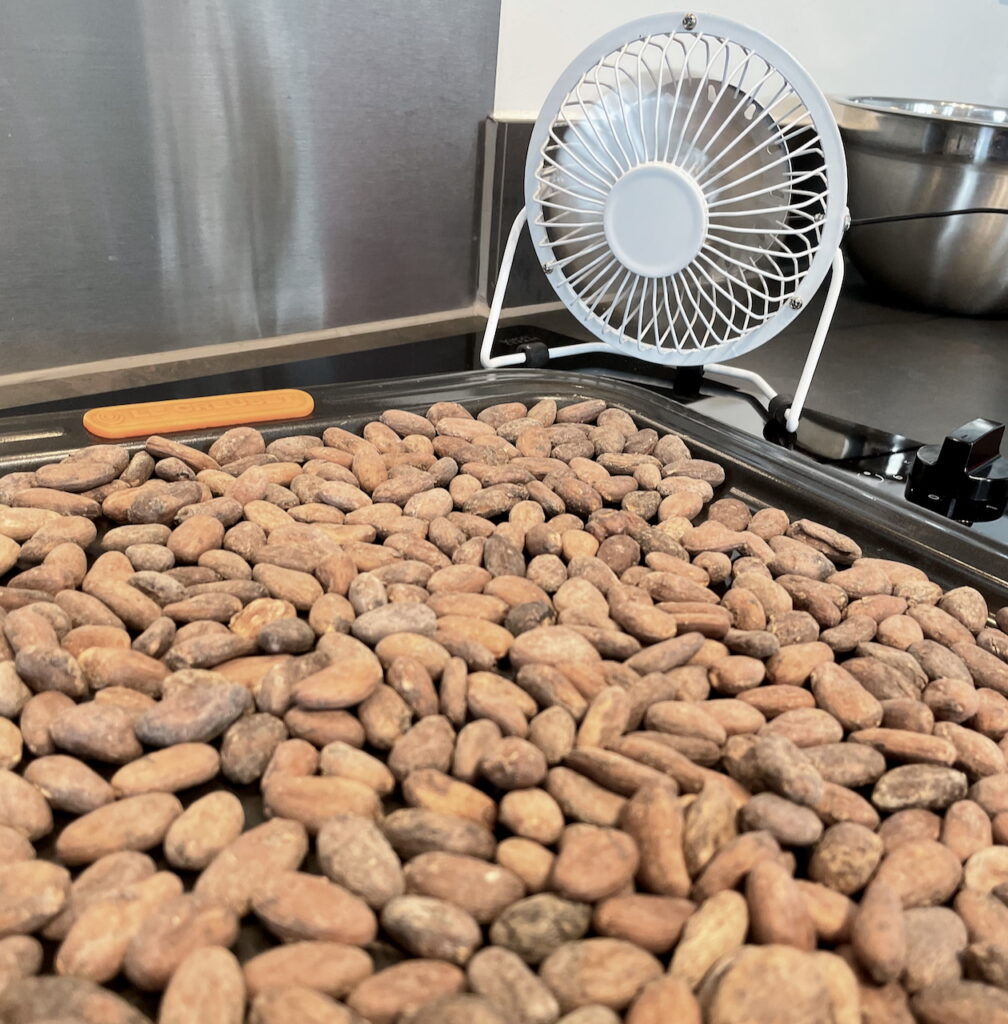
In my own roaster, I found the drum was too hot to remove immediately after roasting, so came up with a method of placing a fan in front of the rotating drum after roasting. Once cool enough to touch, the beans are then dumped out into cooling trays, again with a fan pointed at them to cool them quickly and evenly.
A similar approach can be taken if you’re roasting in an oven. I recommend transferring beans to fresh, cold trays away from the oven itself, stirring them every few minutes for even cooling.
Raw vs Unroasted
Despite the current trend for labeling products as ‘raw’ chocolate, it’s unlikely that any of them are actually raw. There are two main reasons for this:
- Even when unroasted, the fermentation, drying and grinding temperatures of the cocoa beans regularly exceed temperatures associated with raw foods.
- If it were truly raw, it would likely be unsafe to eat.
‘Raw’ chocolate (meaning chocolate made from unroasted cocoa beans) is often marketed for its supposed health benefits over ‘regular’ chocolate, but there’s no actual scientific evidence that this is the case. As far as I’m aware, there have been no studies into how roasting specifically affects the levels of nutrients or antioxidants in cacao and their absorption in the body, so health claims made specifically for ‘raw’ chocolate are dubious at best. Any such claims can be completely ruled out by the simple fact that raw chocolate does not exist. Chocolate is – by definition – a processed food that requires heat during its production.
It is, of course, perfectly possible to produce an unroasted chocolate, but that is not something I would recommend. Aside from the extremely important safety issues noted above that you will need to deal with, to skip the roasting process is to omit one of the key stages in the flavour development of chocolate.
Further Reading
- Drying Cocoa Beans – ICCO
- Microflora Of Cocoa Beans Before And After Roasting – PDF
- Cocoa Bean Roasting – Chocolate Alchemy
- Maillard Reaction – Wikipedia
- Raw Chocolate A Salmonella Risk – Confectionery News
- Flavor Development In Chocolate – Amano Chocolate
- Cocoa bean roasting can preserve both chocolate health benefits, taste – Penn State University